This article will leave out the names of the internet providers to protect against defamation of character issues, but they include a local cable internet provider and a local reseller of DSL connections who also provide T1 lines. Had a client that recently changed from using a bonded T1 line to cable internet in order to get substantially better speeds. During the winter months they experienced the issues that are typical for remote installations of cable – downtime due to issues with the vendors hardware on the poles. After consulting with them, it was decided to go with a DSL PPPoE failover connection as part of some more expansive upgrades. Here is the setup that had to take place on the provided C1100Z modem / router and the Ubiquiti USG Pro.
Setup of C1100Z Modem Router
The modem / router defaults to router mode, which puts all traffic behind a Network Address Translation (NAT) router and allows this DSL vendor their usual practice of monitoring and reselling traffic information. I chose instead to change the settings to make the device into a standard modem in “Transparent Bridge” mode. You will need to contact the DSL vendor in question to get the PPPoE username and password before performing these steps to ensure that you can setup the Ubiquiti USG Pro later. Here are the steps from their website:
1. Open a web browser and go to http://192.168.0.1.
2. Login to your modem by doing the following:
Enter the Administrator Username
Enter the Administrator Password
Select “Apply”.
3. Select “Advanced Setup”.
4.. Select “WAN Settings”.
5. Select “Transparent Bridging”.
6. Select “Tagged-201” for the transport mode.
7. Select “Apply” to save your changes.
Setup of DSL PPPoE Failover Connection on Ubiquiti USG Pro
The second part of this is to setup the failover portion of the Ubiquiti USG Pro to use the PPPoE Connection.
Login to your Ubiquiti Controller
Choose the correct site from the list at the top right
Click on the Devices icon on the left hand column
Click on the Ubiquiti USG Pro device at that site to open up its properties
Click on Configuration
Expand the WAN2 connection and add the username / password acquired from the vendor earlier along with the preferred DNS then make sure to choose the Load Balancing type as Failover then Queue Changes and Apply Changes
This will setup the DSL PPPoE failover connection to be used whenever the primary WAN1 connection goes down. If your company is currently using an unreliable internet provider and need to setup failover, then contact us for assistance.
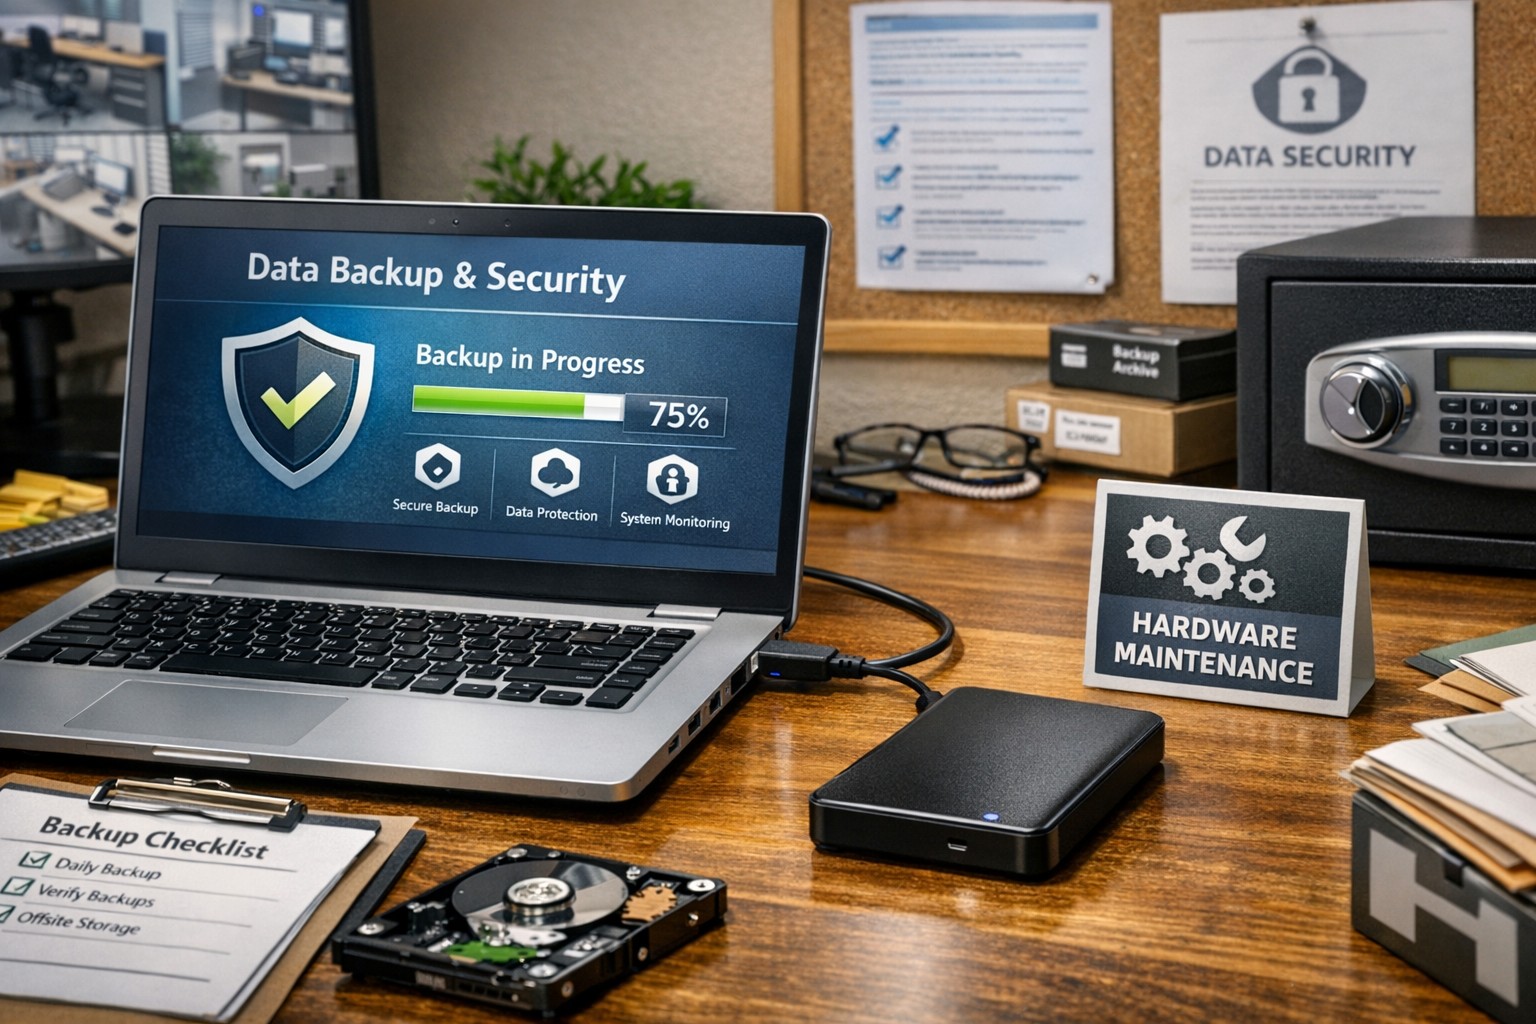
Proper care and maintenance of external hard drives keeps small business data secure and ensures reliable backup performance.
Your external hard drives are more than just storage devices—they’re the backbone of your backup and disaster recovery strategy. Whether you’re safeguarding financial records, client data, or project files, keeping these drives in top condition is crucial to prevent data loss and ensure smooth operations. Yet, many small- to medium-sized businesses (SMBs) neglect proper external hard drive care until it’s too late.
This guide outlines practical steps your business and IT team can take to maintain your external drives, answers common questions, and explains how Farmhouse Networking can help you protect your data investment.
Step-by-Step External Hard Drive Care for Businesses
1. Store Drives Safely and Strategically Keep your external hard drives in a cool, dry environment away from heat sources, direct sunlight, and moisture. Avoid stacking them or placing them near magnets or heavy equipment. A temperature-controlled office with minimal dust exposure reduces the risk of drive failure.
2. Use Regular Backup and Testing Routines Set up scheduled backups (daily, weekly, or monthly) depending on how often your business data changes. Test your backups regularly by restoring sample files to confirm they’re not corrupted. This extra step ensures your data will be recoverable when it truly counts.
3. Avoid Unplugging During Use Never disconnect an external hard drive while it’s transferring data. Doing so can interrupt write processes, causing data corruption or even physical disk damage. Always use the “Safely Remove Hardware” option before unplugging.
4. Protect Against Electrical Surges Use surge protectors or uninterruptible power supplies (UPS) to prevent sudden voltage spikes or power failures from damaging your drives. Power fluctuations are one of the leading causes of hardware failure.
5. Label and Track Your Drives For businesses using multiple backups or rotating drives, label each device clearly with its backup date, purpose, and drive ID. Maintain a simple log so your IT team can easily identify which drive holds which data.
6. Encrypt and Password-Protect Sensitive Data Even if your drives are physically safe, data security remains a top priority. Enable encryption and use strong passwords to protect sensitive company and client information, especially for industries handling confidential data or regulated information.
7. Monitor Drive Health Use disk-monitoring software to check drive health indicators like temperature, bad sectors, or read/write errors. Common tools include CrystalDiskInfo or SMART monitoring utilities—many of which can integrate directly into business IT systems for proactive alerts.
Common Questions About External Hard Drive Maintenance
Q: How often should my business replace external drives? Generally, replace drives every 3–5 years, depending on usage and storage environment. Drives used for daily backups may wear faster than those used occasionally for archiving.
Q: What’s the best file system for business backups? For Windows users, NTFS offers stability and large file support. Cross-platform users (macOS and Windows) may prefer exFAT. The choice depends on your backup software and workflow.
Q: How can I tell if my external hard drive is failing? Warning signs include slower performance, clicking or grinding noises, frequent disconnections, or error messages. At the first sign of trouble, stop using the drive immediately and back up data elsewhere to prevent further damage.
Q: Are SSD external drives better than HDDs? Solid-state drives (SSDs) are faster and more durable (no moving parts), but typically more expensive per gigabyte. SMBs focused on speed and portability often find them worth the investment.
How Farmhouse Networking Can Help
At Farmhouse Networking, we partner with small- and medium-sized businesses to create comprehensive data protection plans that go beyond just devices. Our team offers:
Automated backup solutions that reduce the risk of human error.
Drive health monitoring systems to detect early signs of failure.
Data encryption and security compliance consulting to safeguard sensitive information.
Disaster recovery services that ensure your business can bounce back quickly from any data loss event.
We understand how critical reliable storage is to your operations. Our IT experts can assess your current backup process, recommend appropriate external drives, secure your devices, and set up reliable offsite backups or cloud redundancy.
Keep Your Data Safe — Start Today
External hard drives are a dependable and affordable part of any SMB’s data management strategy, but they require proper care to remain effective. By following the steps above and partnering with a trusted IT service provider like Farmhouse Networking, you can extend the life of your drives, reduce risk, and maintain business continuity.
Ready to strengthen your backup strategy or troubleshoot your current storage setup? Email support@farmhousenetworking.com today to learn how Farmhouse Networking can help protect your business from data loss.
Had another tech firm that needed some Tier 3 assistance as they were having trouble with their VPN connection. I helped them setup Azure to Unifi USG IPSec VPN to connect their headquarters to the hosted RemoteApps server. This tutorial will go into detail about the creation of this tunnel starting with the Microsoft Azure side first using Resource Manager. It will be using the following parameters:
VNet Name: TestNetwork
Address Space: 10.10.0.0/16
Subnets:
Primary: 10.10.10.0/24
GatewaySubnet: 10.10.0.0/24
Resource Group: TestResourceGroup
Location: West US
DNS Server: Azure Default
Gateway Name: TestVPNGateway
Public IP: TestVPNGatewayIP
VPN Type: Route-based
Connection Type: Site-to-site (IPsec)
Gateway Type: VPN
Local Network Gateway Name: TestSite
Local Subnet: 10.20.20.0/24
Connection Name: VPNtoTestSite
Configure an Azure VPN gateway
This part takes the longest, so it should be done first:
Click on the “+” icon at the top left hand side of the Resource Manager, then search for “Virtual Network Gateway” and click on the “Create” button.
Give the Virtual Network Gateway a name
Select matching Region to where Azure resources are located
Leave Gateway & VPN type the defaults
Choose a SKU <- These have changed since the article was created, so my “standard” now is WpnGw1 with Active / Active turned off (this is a good balance of performance and cost)
Choose or create a local network (not covered here) that matches internal resources
Choose or create a Public IP Address
Leave the remaining values as their defaults and then click the “Create” button. (Please note the reminder that this takes 45 minutes to create!)
Configure an Azure Local Network Gateway
This is a reference to your on-premise network so that subnets can pass traffic:
Click on the “+” icon at the top left hand side of the Resource Manager, then search for “Local Network Gateway” and click on the “Create” button.
Give the Local Network Gateway a name
Select matching Region to where Azure resources are located
Specify the external IP address of the local on-premise site
Specify the on-premise address space (subnet)
Leave the remaining values as their defaults and then click the “Create” button.
Configure an Azure VPN Connection
This will create the tunnel from Azure to the on-premise site:
Click on the “+” icon at the top left hand side of the Resource Manager, then search for “Connection” and click on the “Create” button.
Choose “Site-to-site (IPSec)” as the connection type
Give the Connection a name
Select matching Region to where Azure resources are located
Leave the remaining values as their defaults and then click the “OK” button. On the summary screen click on the “OK” button to create the connection.
Choose the newly created Virtual Network Gateway
Choose the newly created Local Network Gateway
Specify a shared key
Leave the remaining values as their defaults and click the “Create” button.
This completes the setup of the Azure side of the VPN tunnel. Now to work on the Ubiquiti USG side.
Configuring an Ubiquiti USG VPN Network
This is a fairly simple process but it has to be precise:
Choose the Current Site from the top right hand side of the portal.
Click on the Settings gears down on the bottom left side of the portal.
Click on Networks then on the “Create New Network” button.
Give the connection a name, choose “Site-to-Site VPN” as the Purpose
Choose “IPSec VPN” as the VPN Type
Choose to Enable this Site-to-Site VPN
Add the Azure subnet under Remote Subnets
Get the newly created Virtual Network Gateway IP address from Azure for the Peer IP
Enter the on-premise external IP address for Local WAN IP
Enter the same shared key as used in the Azure VPN Connection for the Pre-Shared Key
Choose “Azure Dynamic Routing” as the IPSec Profile
Expand Advanced Options
Leave Key Exchange Version, Encryption, Hash & DH Group as default and uncheck the PFS & Dynamic Routing boxes.
That is all there is to it. If you have any difficulties with connection then delete and re-create the Ubiquiti USG side first (those two check boxes at the bottom of the Advanced Options will check themselves again, but don’t be fooled by this quirk in the software). If your company is currently using either Microsoft Azure or Ubiquiti USG routers and would like a VPN created, then contact us for assistance.
Recently did some Tier 3 support work for another technology company that was trying to setup a Windows Server 2016 RemoteApps server in Azure that would allow connectivity to remote users for their on-premise software. The process started with creating a VPN tunnel between on-premise and Azure, but that is a discussion for a future set of blog posts. Once this connection was in place, the company tried to use an external certificate for RemoteApps setup on the server. This would have been fine if the internal domain had not been a “.local” address scheme. This tutorial assumes that you have already installed Remote Desktop Services on a server and configured it to use the CA provided external certificate.
Change Remote Computer Name
One of the main sticking points that caused issues with security warnings for clients connecting is they would see the warning – “The remote computer could not be authenticated due to problems with its security certificate.” The fix for this has been graciously scripted in PowerShell by someone with the handle “TP” on Technet. The script is called Set-RDPublihedName.ps1 and is used as follows:
Set-RDPublishedName "remote.domain.com"
Proper Active Directory Group
There were then issues with the login process that caused the following error:
Remote Desktop can’t connect to the remote computer “<End Resource Name>” for one of these reasons:
1) Your user account is not authorized to access the RD Gateway “<RD Gateway Server Name>”
2) Your computer is not authorized to access the RD Gateway “<RD Gateway Server Name>”
3) You are using an incompatible authentication method (for example, the RD Gateway might be expecting a smart card but you provided a password)
This was coupled with Security Log messages – “The Network Policy Server was unable to connect to a domain controller in the domain where the account is located. Because of this, authentication and authorization for the RADIUS request could not be performed.” All this turned out to be the RD Gateway was not in the proper Active Directory Group, so added the server to the RAS and IAS Servers group.
Add URL to IIS
There was then an error about not being able to find the computer name, which turned out to be a setting in IIS. Looking under Sites > Default Web Site > RDWeb > Pages click on Application Settings and change the DefaultTSGateway to the URL of the CA external certificate for RemoteApps.
Fixing RS CAP & RAP
Last error that was received was the following:
Remote Desktop can’t connect to the remote computer “computername” for one of these reasons:
1) Your user account is not listed in the RD Gateway’s permission list
2) You might have specified the remote computer in NetBIOS format (for example, computer1), but the RD Gateway is expecting an FQDN or IP address format (for example computer1.fabrikam.com or 157.60.0.1).
This turned out to be related to the RD Client Access Policy (CAP) & Remote Access Policy (RAP) under the RD Gateway Manager tool and DNS. For RD CAP, make sure that Domain Users is listed, and that Client Computer Group membership is blank. FTor RD RAP, make sure that Domain Users is listed, and that it is set to allow connection to Any Network Resource (This allows remote access). For DNS, make sure it contains a Forward Lookup Zone that points to the URL of the CA external certificate for RemoteApps and has an A record for the internal IP address of the RD server.
If your company is currently moving some of your resources to the Azure cloud or wanting to properly setup your RemoteApps server, then contact us for assistance.
A series of recent security bulletins from Cisco, on February 2nd, detail an issue that has been discovered in several of their devices. Here is a summation:
Cisco ASA Security Appliances
FN-64228 : ASA 5506, ASA 5506W, ASA 5506H, ASA 5508, and ASA 5516 – these models all use the same clock signal part from the same vendor which has been found to degrade over time. After 18 months of continued operation this component will fail and cause the device to stop functioning, no longer boot, and will not be recoverable.
“Customers with affected products that are under warranty or covered by any valid service contract as of November 16, 2016 should go to the Clock Signal Component Issue page and follow the instructions in order to request replacements.” These replacements will be prioritized based on time in operation.
Meraki Router & Wireless APs
Meraki Notification – MX 84 & MS350 Series – these models all use the same clock signal part from the same vendor which has been found to degrade over time. After 18 months of continued operation this component will fail and cause the device to stop functioning, no longer boot, and will not be recoverable.
” Meraki will reach out to customers via email and on the dashboard to arrange replacement and the return of affected units.”
If your company is currently using one of the affected devices and have not heard from your current IT services provider about the replacement schedule, then contact us for assistance.
The SANS Institute has been putting out the OUCH! newsletter for some time now in a project called Securing the Human. In the most recent Issue, they discuss some best practices and practical advice for traveling. Here are some highlights:
Minimize Possible Losses
Here are a few tips to protect information from the hazards of traveling and possible theft:
Remove any data that is not needed on the device
Use full disk encryption & strong passwords
Perform a complete backup before leaving
Install tracking software on the device
Update OSes and Antivirus
Lost/Stolen Devices
Although crime is more of a factor in some third world nations or those in active conflict, the human element of losing the device is 100x more likely. Keep inventory of your devices before, during and after transporting from one location to another. Do not leave your device in the hotel room, have the hotel front desk put it in their safe or locked administrative offices.
Public WiFi
If you have to connect to the internet in public spaces and/or cannot afford mobile data on your trip, then make sure to do the following:
Never use public computers for sensitive information, especially banking sites
When on public wifi, only surf to sites with HTTPS:// secure connections
Consider connecting to a VPN service to further encrypt communications
If your company is requires traveling or you are planning to remotely work while on vacation, then contact us for assistance. We would be happy to walk you through the full disk encryption process, update / secure your devices and configure a company VPN service to connect to on the go.
During a recent briefing from the FBI’s Oregon Cyber Task Force in Medford, OR they detailed best practices and industry standards for cyber attack mitigation. FBI special agents started with information and statistics about the most recent threats giving specifics of how the attacks were executed. Security Architect from the State of Oregon then outlined the specifics of how to mitigate these threats properly. Here is a summation:
Current Threat Landscape
Business Email Compromise (CEO Fraud): Involves cyber criminals posing as business executives at companies that regularly perform wire transfers. After compromising the executive’s email, the criminal requests employees to perform wire transfers to the criminal’s bank account. FBI Internet Crime Complaint Center (IC3) has reported over $3 billion of losses worldwide due to this threat.
Ransomware: Ransomware is a form of malware that targets weaknesses in networks to deny the availability of critical data by encrypting it and demanding a ransom for the encryption keys to decrypt the data. Ransomware is frequently delivered through spear phishing emails to end users.
Point of Sale (PoS) Malware: Cyber criminal steals payment card data by remotely infecting PoS systems with malware without the need to physically access the cards or the devices used to process them. This allows criminals to compromise PoS systems on a large scale with larger victim base.
Insider Threat: An insider is a current or former employee who has access to an organization’s network and intentionally misuses that access to negatively affect the company. IC3 has recorded business losses from insider threat to be between $5,000 to $3 million.
Internet Extortion: Victims are threatened by cyber criminal with Distributed Denial of Service (DDoS) attack that will make access to their e-commerce site severely degraded or impossible if they victim does not pay to appease them. These can be real or fake with price tags in the neighborhood of 50 bitcoin or about $30,000.
Cyber Attack Mitigation
Here is a list of items that will need to be addressed to comprise a complete mitigation plan:
Create company policy in regards to how wire transfers are handled that require verbal or in-person authorization from multiple company executives
Create company policy restricting details that can be shared about job duties and company hierarchy on social media
Review National Institute of Standards and Technology (NIST) Cybersecurity Framework and adopt risk management processes
Create, implement and keep up-to-date an incident response plan
Create company policy and implement lawful network monitoring
Have proactive relationships with law enforcement agencies – silence is letting cyber criminals win
Practical Security Best Practices
Network Segmentation – keep the guest wireless separate from the local network, keep payment processing in its own network and keep web servers in the Demilitarized Zone (DMZ) of the network.
Use firewall access rules, Active Directory Group Policy and physical security measures to limit unsecure access to every segment of your network.
Restrict usage of administrator level access by creating alternative accounts for these purposes that are not used for local login. Keep these accounts monitored.
Implement automated patching and managed virus scanning on all systems. Remove any unsupported / non-updateable software or sytems on the network.
Restrict remote access to the network to specific users and use only secure protocols like RDP through VPN
Conduct periodic testing of all security measures to identify weakness or failing procedures and adjust systems accordingly
Advanced Mitigation Processes
Use multi-factor authentication wherever possible
Establish baseline of applications used then implement application whitelisting
Standardize encryption for data both at-rest and in-transit
Conduct perimeter filtering via Intrusion Detection System (IDS)
Regularly backup system logs in a segregated portion of the network to prevent tampering
If your company is going to use full disk encryption or has compliance requirements that you need consulting for, then contact us for assistance.
After finishing the migration of a client to their new cloud-based Line of Business SaaS application, it was time to finally get rid of the last Windows 2003 Small Business Server that we manage. The client had a Windows Server 2008 R2 Standard server that used to be the database server for the on-premise application which was being re-purposed as the new Primary Domain Controller (PDC) for the domain. After installing the Active Directory Domain Services (ADDS) role on the new server, I went to run DCPROMO on the new server and found that it asked me to run ADPREP /FORESTPREP on the domain. Took me a little bit of searching to find the Windows 2003 Server media and ran the command successfully, but this did not do the trick – turns out I needed the Windows 2008 R2 Server media and run the ADPREP32 command several times to complete the domain preparation for the new server to be DCPROMO successfully. Extracted the support directory from the media ISO to a folder on the root of the old Windows 2003 Small Business Server and then ran the following commands in order:
ADPREP32 /FORESTPREP
This one took a long time as the server was going from Schema 31 to Schema 47.
ADPREP32 /DOMAINPREP
This one stated that I needed to run the next command, so I did.
ADPREP32 /DOMAINPREP /GPPREP
The command actually stated that the update was already applied. So went back to the Windows 2008 R2 Standard server and ran DCPROMO again which told me that I needed to run one more command.
ADPREP32 /RODCPREP
Ran this one even though I had no plans of having a Read-Only Domain Controller (RODC) in the domain. After all these commands the new server was able to be DCPROMO into the domain controller role. Now all that is left is FSMO roles, DNS, DHCP, printers and file shares.
If your company is going to use full disk encryption or has compliance requirements that you need consulting for, then contact us for assistance.
Recently had a financial planning firm contact me with their new compliance regulations which included full disk encryption on all workstations that accessed client data and on all thumb drives used. This led me on a search to find the best solution for their systems which boiled down to essentially two solutions – Bitlocker or TrueCrypt / VeraCrypt.
Full Disk Encryption w/ Bitlocker
This feature is built into the professional versions of Windows OS from version 7 and beyond. It is simple to use and can be implemented from the Properties on local drives. It works with the modern GUID partition table (GPT) and Unified Extensible Firmware Interface (UEFI) as well as the older MBR / BIOS model. It works best with a Trusted Platform Module chip but can also be setup to use an external USB device as the encryption key repository. There is also a “Bitlocker To Go” setup for thumb drives that will work easily on other Windows based devices.
Full Disk Encryption w/ TrueCrypt
TrueCrypt, and the more recent “fork” of the software VeraCrypt, are based on the same open source code and are compatible with all recent versions of Windows OS. These software packages are not for the faint of heart as they require following detailed instructions on their usage through a multi-stage process to perform the drive encryption. My testing has revealed that they do not work well with modern GPT or UEFI and instead the Master Boot Record (MBR) and Basic Input/Output System (BIOS) systems would have to have been implemented from the initial setup of the workstation to function properly. There is currently no support for TPM, so remember your password or else say goodbye to your data. There is the ability to create a portable drive via these software packages, but the process is not something an end-user could easily do themselves.
Based on the limitations of TrueCrypt and the steep learning curve. It will be my recommendation to use the more simple and up-to-date Bitlocker technology to protect their firm – even if the encryption algorithms available in the other software provide deeper security. If your company is going to use full disk encryption or has compliance requirements that you need consulting for, then contact us for assistance.
Had a small client recently that wanted to move from standard hosted email service (via WHM / cPanel based server) to Google Apps. In doing the Google Apps migration I found that they had a mix of POP3 and IMAP configured throughout the organization, so using the G Suite Migration for Microsoft® Exchange like I would for larger migrations that are based in IMAP only was out of the question. I found the Google Apps Migration for Microsoft Outlook® which was better suited for doing the job in this small mixed environment.
And God will generously provide all you need. Then you will always have everything you need and plenty left over to share with others. As the Scriptures say,
“They share freely and give generously to the poor. Their good deeds will be remembered forever.”
For God is the one who provides seed for the farmer and then bread to eat. In the same way, he will provide and increase your resources and then produce a great harvest of generosity in you. - 2 Corinthians 9:8-10
We use cookies to ensure that we give you the best experience on our website. If you continue to use this site we will assume that you are happy with it.