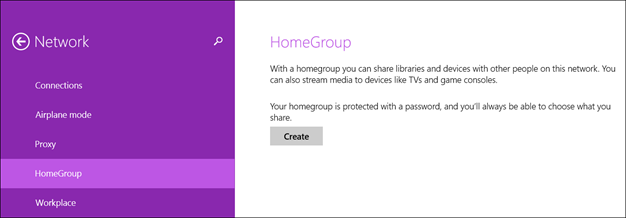
According to the following Microsoft Support Post published in October 2018, the HomeGroup feature has now been removed from Windows 10. Most people won’t need to worry about this, but recently ran across a business that had relied on this feature to run their network. With HomeGroup removed from Windows 10 they were left without the ability to share properly with a new computer on the network. So here is how to fix the issue:
How to fix Windows Networking after HomeGroup Removal
- Turn off all sharing:
- Open Network & Sharing Center
- Click on Advanced Sharing Settings
- Turn off network discovery (Private & Public)
- Turn off file and print sharing (Private & Public)
- Turn off Public folder sharing (All Networks)
- Turn off Password Protected Sharing (All Networks)
- Save Changes
- Remove old password:
- Open Credentials Manager
- Change to Windows Credentials
- Remove all $HomeGroup users credentials from networked computers on all computers formerly in HomeGroup
- AutoStart Services
- Open Services
- Find Function Discovery Provider Host and set to Automatic Startup then Start service
- Find Function Discovery Resource Publication and set to Automatic Startup then Start service
- Find SSDP Discovery and set to Automatic Startup then Start service
- Find UPnP Device Host and set to Automatic Startup then Start service
- Add Users
- Get username and password for all computers on network
- On each computer on the network, open command prompt
- For each username, use the command – net user [username] [password] /add
- Turn on all sharing:
- Open Network & Sharing Center
- Click on Advanced Sharing Settings
- Turn on network discovery (Private)
- Turn on file and print sharing (Private)
- Turn on Public folder sharing (All Networks)
- Use 128-bit encryption (All Networks)
- Turn on Password Protected Sharing (All Networks)
- Save Changes
- Recreate Shares (if needed)
- Right-click on folder and choose Properties
- Click on Sharing tab
- Click on Advanced Sharing
- Check Share This Folder
- Name the share
- Click Permissions
- Click on Add
- Select username and add Full Control then click OK
- Repeat for each username
- Click OK to return to Properties window
- Click on Security Tab
- Click on Advanced
- Click on Add
- Select username and add Full Permissions (or appropriate level) then click OK
- Repeat for each username
- Check Replace Child Permisssions and click OK
- Click OK on all previous windows
Hope this post helps some other techs save the time in fixing Windows 10 networking when HomeGroup is removed.
If your company is still using HomeGroup or needs any help with advanced networking, then contact us for assistance.